

Let's be honest – the iPhone has completely changed the game when it comes to photography. Gone are the days of lugging around heavy camera gear to take amazing photos. Now, with just your trusty iPhone, you can snap mind-blowing shots that'll have your friends and followers double-tapping in no time. Whether you're a total newbie or a seasoned shutterbug, there's always something new to learn about iPhone photography.
In this blog, we're going to dive into everything you need to know to level up your iPhone photo game. We'll chat about the basics, get into some nifty camera features you might not even know about, and share some tips and tricks to help you capture those Instagram-worthy shots. So, grab your iPhone, and let's get ready to make some photographic magic!
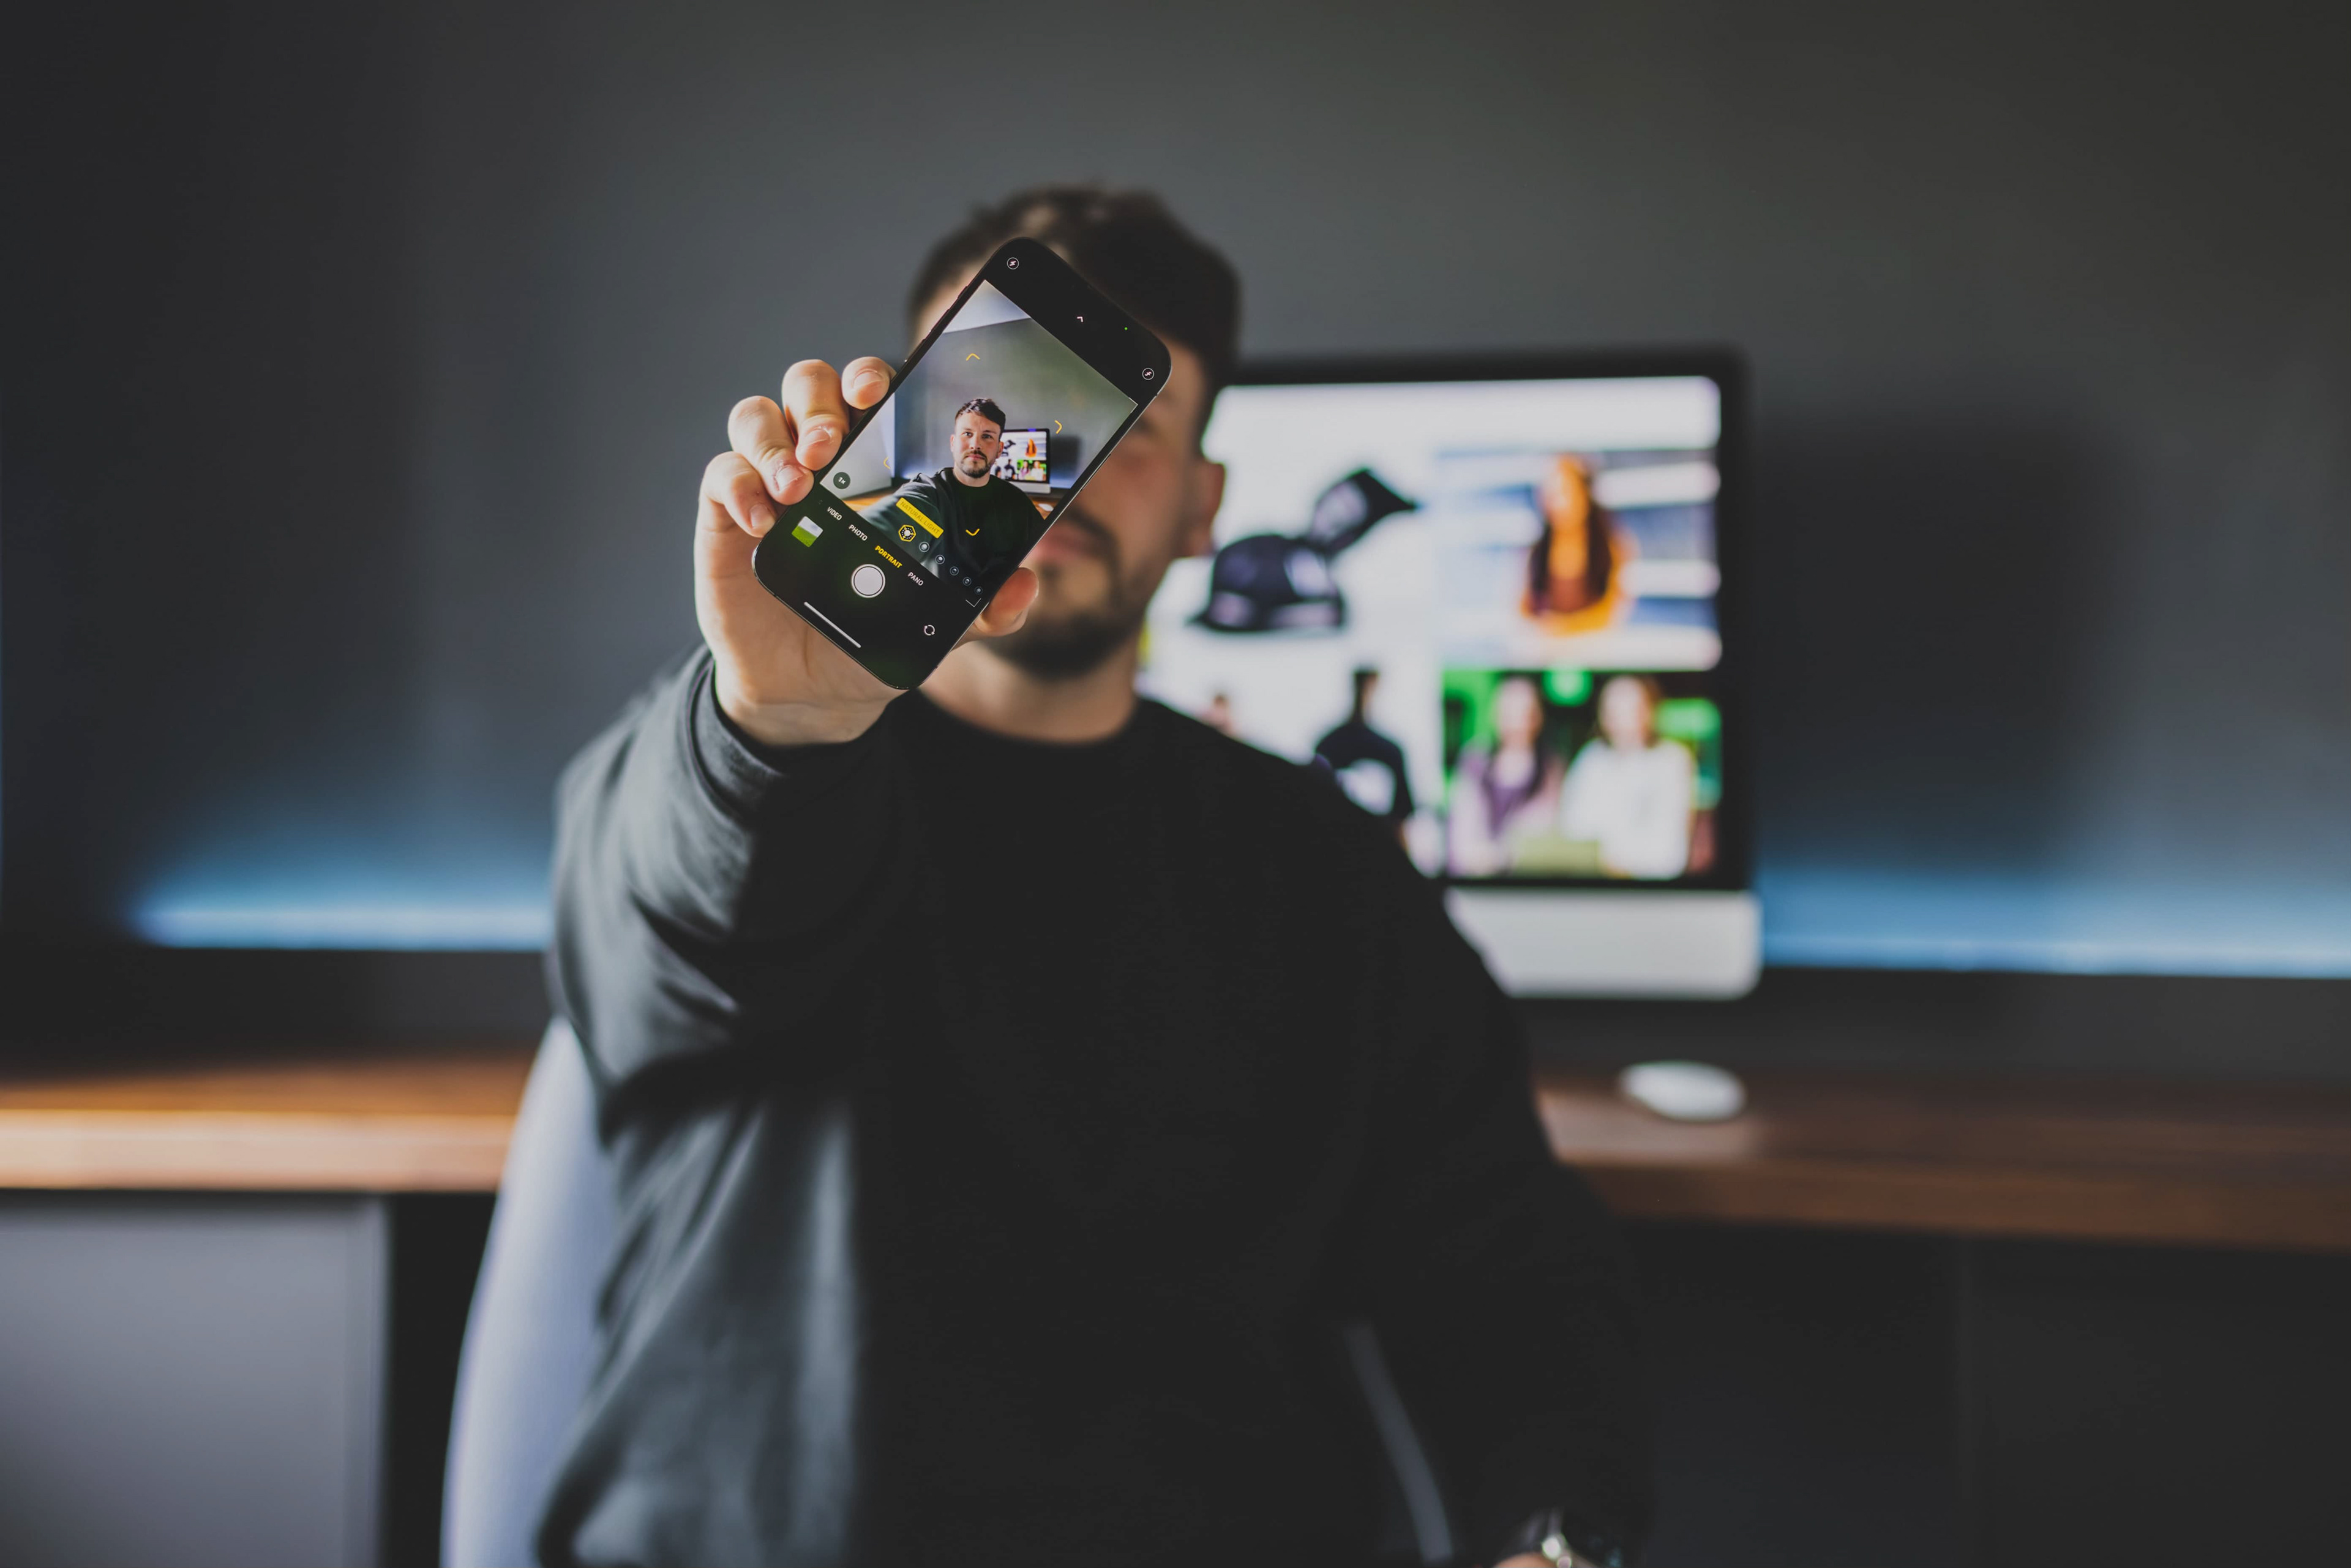
Understand Your iPhone Camera
Before you start shooting, it's essential to familiarise yourself with your iPhone's camera features. Depending on your device's model, you may have different lenses, resolutions, and settings. Be sure to check the specs and available options, such as portrait mode, night mode, and HDR, to understand how they can enhance your photography.
Know Your iPhone Model and Camera Specifications
Different iPhone models come with varying camera specifications, which may include single, dual, or triple-lens systems. Newer models may also offer LiDAR scanners for improved low-light photography and depth sensing. By knowing your iPhone model and its camera specifications, you can make the most of its capabilities and better understand its limitations.
Learn the Camera Interface and Settings
The iPhone camera interface is intuitive and user-friendly, but taking the time to explore its settings can unlock additional features and options. Familiarise yourself with the available modes, such as photo, video, portrait, panorama, time-lapse, and slow motion. Learn how to switch between lenses (wide, ultra-wide, and telephoto) and how to access advanced settings, such as Live Photos, exposure compensation, and aspect ratio.
Master the Native Camera App Features
While third-party apps can provide additional features and controls, the native iPhone Camera app is packed with powerful tools and functionalities. Here are some of the key features you should master:
Burst Mode: To capture multiple photos in quick succession, press and hold the shutter button. This is useful for action shots or fast-moving subjects.
Self-Timer: Use the self-timer (3s or 10s) when you want to be in the photo or need a steady shot without camera shake.
Live Photos: Enable Live Photos to capture a short video along with your still image, adding a touch of motion and life to your memories.
Filters: Apply filters directly from the Camera app to preview and capture photos with different looks and moods.
By understanding your iPhone's camera features and interface, you can make more informed decisions about which settings and tools to use in various shooting scenarios, ultimately leading to better photographs.
Use the Rule of Thirds for Balanced Composition
One of the most basic yet powerful photography principles is the Rule of Thirds, which can significantly improve your image composition and create a more balanced and visually appealing result. The Rule of Thirds suggests dividing your frame into nine equal parts by two equally-spaced horizontal lines and two equally-spaced vertical lines, forming a 3x3 grid. By doing so, you create four points of an intersection known as "power points" or "crash points," which are considered strong areas of focus.
When composing your shot, aim to place your subject, focal point, or other important elements of your scene along these lines or at their intersections. This technique can create a more harmonious and engaging composition, as it provides a natural guide for the viewer's eyes and encourages them to explore the entire image.
Applying the Rule of Thirds in various types of photography:
Landscape photography: Align the horizon with one of the horizontal gridlines, either the top or bottom one, depending on whether you want to emphasise the sky or the land. Additionally, place points of interest, such as trees or buildings, along the vertical lines to create visual balance.
Portrait photography: Position your subject's eyes or face along one of the vertical lines, and if possible, align their eyes with one of the intersections. This can create a more engaging portrait that draws the viewer's attention to the subject's face.
Still life and close-up photography: Place the main point of interest, such as the centre of a flower or the main element of a still life scene, at one of the intersections. This can help emphasise the subject and create a visually pleasing image.
To enable the gridlines on your iPhone, go to Settings > Camera > Grid.
This will overlay a 3x3 grid on your camera viewfinder, making it easier to apply the Rule of Thirds while composing your shots. Keep in mind that the Rule of Thirds is a guideline rather than a strict rule, and sometimes breaking it can lead to unique and eye-catching compositions.
Don't be afraid to experiment and find the balance that works best for your particular scene.
Find the Right Light with iPhone Camera
Great photography often starts with great lighting, and understanding how light affects your images is crucial in capturing stunning shots with your iPhone. Natural light is usually the most flattering and easiest to work with, but it's essential to learn how to harness its potential in different situations.
Golden Hour: The golden hour, which occurs shortly after sunrise or before sunset, is the ideal time to capture images with a soft, warm glow. During this time, the sun is low on the horizon, and the light is diffused, creating long shadows and a beautiful, even illumination. This magical hour can transform even the most mundane scenes into breathtaking landscapes or stunning portraits.
Overcast Skies: Overcast conditions can provide a soft, even light that is perfect for shooting portraits or other subjects where harsh shadows may be undesirable. The clouds act as a natural diffuser, spreading the sunlight evenly and reducing the contrast in your images. Embrace cloudy days and use them to your advantage when capturing outdoor shots.
Avoid Direct Sunlight: Shooting in direct sunlight can be challenging, as it creates harsh shadows and overexposed highlights. If you must shoot in bright sunlight, try to position your subject in the shade or use a reflector to bounce light onto them. Alternatively, you can wait for clouds to pass in front of the sun or wait for the light to become less harsh later in the day.
Blue Hour: The blue hour is a short period just before sunrise or after sunset when the sky takes on a deep blue hue. This time is ideal for capturing cityscapes, landscapes, and other scenes with a serene, cool atmosphere. Since the light is dimmer during the blue hour, you may need to use a tripod or other stabilising device to keep your iPhone steady and avoid blurry images.
Indoor Lighting: When shooting indoors, look for soft, diffused light from windows or other sources. Avoid using the built-in iPhone flash, as it can create harsh, unflattering light. Instead, consider using lamps, LED lights, or even candles to create interesting and unique lighting setups. Experiment with different light sources and positions to achieve the desired mood and atmosphere in your photos.
By learning how to work with different lighting conditions and understanding the impact of light on your images, you can significantly improve the quality of your iPhone photography and capture truly stunning shots.
Master Exposure and Focus Explained
Understanding how to control exposure and focus is crucial for capturing high-quality images with your iPhone. These two elements can significantly impact the overall appearance and quality of your photos, so learning to adjust them manually is essential.
Focus:
To get sharp and well-defined images, you need to ensure that your subject is in focus. On your iPhone, tap the screen where you want the camera to focus, and a yellow square will appear to indicate the focus point. The camera will then automatically adjust the focus to that area, ensuring a crisp and clear image.
For even greater control, you can use the AE/AF lock feature. Press and hold your finger on the screen where you want to focus until the AE/AF lock icon appears. This locks the focus and exposure settings, allowing you to recompose your shot without losing your desired focus point.
Exposure:
Proper exposure is vital for creating well-balanced images. Your iPhone camera automatically calculates the exposure, but sometimes the result may not be ideal, leading to overexposed or underexposed images. To manually adjust the exposure, tap on the focus point, and a sun icon will appear next to the yellow square. Swipe up or down on the screen to increase or decrease the exposure, making your image brighter or darker, respectively.
For more precise control over exposure, consider using third-party camera apps like ProCamera or Halide, which offer advanced manual controls, including shutter speed, ISO, and white balance settings.
By mastering these settings, you can achieve the perfect exposure in various lighting conditions and unlock the full potential of your iPhone camera.
Remember that practice makes perfect, so take the time to experiment with different focus and exposure settings to familiarise yourself with how they affect your images. As you become more comfortable with these controls, you'll be able to confidently capture stunning images in any situation.
Make the Most of HDR and Night Mode
HDR (High Dynamic Range) and Night Mode are two powerful features that can significantly improve the quality of your iPhone photos in specific situations. Understanding when and how to use these modes effectively can help you capture stunning images that might otherwise be difficult or impossible to achieve.
HDR (High Dynamic Range)
HDR is designed to balance exposure in high-contrast scenes, such as landscapes with bright skies and dark foregrounds, or backlit subjects where the background is much brighter than the subject. When enabled, HDR takes multiple exposures at different levels and combines them into a single image, preserving details in both the highlights and the shadows.
To activate HDR, open the Camera app, and look for the "HDR" icon at the top of the screen. On newer iPhone models, "Smart HDR" is automatically enabled, and the camera will decide when to apply HDR. If you prefer to have manual control, go to Settings > Camera > Smart HDR, and disable it. This will allow you to toggle HDR on and off manually within the Camera app.
Remember that HDR may not be suitable for every situation, such as scenes with fast-moving subjects, as it can cause ghosting or artefacts due to the merging of multiple exposures. Experiment with HDR in various conditions to determine when it's most beneficial for your photos.
Night Mode
Night Mode, available on newer iPhone models, is a game-changer for low-light photography. It uses advanced algorithms and a longer exposure time to capture more light, resulting in brighter and clearer images without the need for a flash. Night Mode can be used for cityscapes, night landscapes, and indoor scenes with limited lighting.
When Night Mode is available, the icon will appear automatically at the top of the screen in the Camera app. You can enable or disable it by tapping the icon.
The camera will suggest an optimal exposure time, but you can also adjust it manually by tapping the Night Mode icon and using the slider. Keep in mind that longer exposure times may require a steady hand or a tripod to avoid camera shake and blurry images.
By leveraging HDR and Night Mode in the appropriate situations, you can create well-exposed and visually striking images, even in challenging lighting conditions. Experiment with these features and find the right balance to optimise your iPhone photography.
Experiment with Portrait Mode and Advanced Depth Effects
Portrait mode, available on newer iPhone models, is a powerful tool that creates professional-looking portraits by blurring the background and keeping the subject in sharp focus. This effect, known as bokeh, is achieved through advanced depth processing techniques that simulate the shallow depth of field typically produced by DSLR cameras. By mastering Portrait mode and its various features, you can create striking portraits that truly stand out.
Choose the right subject: While Portrait mode is designed primarily for photographing people, it can also work well with pets, objects, or other subjects with clear, well-defined edges. Experiment with different subjects to see how the depth effect enhances your images.
Optimal distance: For the best results, maintain a distance of roughly 2-8 feet from your subject. This will allow the depth effect to be more pronounced, separating the subject from the background.
Lighting conditions: Portrait mode works best in well-lit environments. In low light, the camera may struggle to separate the subject from the background, resulting in less accurate depth effects. If you're shooting indoors, try to find a location with ample natural light, or use additional light sources to illuminate your subject.
Use Portrait Lighting: In addition to the depth effect, newer iPhone models also offer Portrait Lighting, which applies various studio lighting effects to your subject. You can choose from options like Natural Light, Studio Light, Contour Light, Stage Light, and Stage Light Mono. Experiment with these settings to create different moods and enhance your subject's features.
Adjust background blur: After taking a photo in Portrait mode, you can fine-tune the level of background blur to achieve the desired effect. Tap "Edit" on the photo and use the depth control slider to increase or decrease the blur intensity. You can also change the Portrait Lighting effect or disable it altogether during this editing process.
Edit the mask: Sometimes, Portrait mode may not accurately distinguish the subject from the background, resulting in minor artefacts or inconsistencies in the depth effect. Some third-party apps, like Focos, allow you to edit the depth map manually, giving you greater control over the final result.
By taking the time to understand and experiment with Portrait mode and its advanced depth features, you can create stunning portraits that showcase your subject in a new and captivating light.
Get Creative with Composition and Angles
One of the key aspects of producing eye-catching images is experimenting with composition and angles. By stepping out of your comfort zone and trying new approaches, you can create visually striking and memorable photographs that stand out from the crowd.
Frame within a frame: Look for natural frames, such as windows, doorways, or tree branches, to surround your subject. This technique not only adds depth to your image but also helps draw the viewer's attention towards the main focal point.
Leading lines: Use natural or man-made lines in your composition to lead the viewer's eye towards your subject. These could be roads, fences, rivers, or architectural elements. Leading lines create a sense of movement and direction in your photos, making them more dynamic and engaging.
Diagonal lines: Incorporating diagonal lines in your composition can create a sense of energy and movement. Diagonal lines can be found in various settings, such as staircases, sloping roads, or even shadows. Experiment with diagonal lines to add an interesting visual element to your images.
Fill the frame: Don't be afraid to get up close and personal with your subject. Filling the frame can emphasise details, textures, and patterns that might otherwise go unnoticed. This technique is particularly effective for capturing powerful portraits and stunning macro shots.
Negative space: Utilise negative space (the empty areas around your subject) to create a minimalist and clean composition. This approach can help emphasise your subject, evoke a sense of calmness, and create a visually striking contrast between the subject and its surroundings.
Experiment with perspective: Challenge yourself to shoot from unconventional angles, such as from a low vantage point (worm's-eye view) or a high vantage point (bird's-eye view). This can make ordinary scenes look extraordinary and add a unique twist to your images.
Play with reflections: Use reflective surfaces like water, mirrors, or glass to add depth and interest to your photos. Reflections can create symmetry, showcase interesting patterns, or even produce surreal effects.
Incorporate symmetry: Look for symmetrical elements in your environment, such as architecture, landscapes, or natural formations. Symmetrical compositions can be visually pleasing and create a sense of balance and harmony in your photos.
By experimenting with different compositions and angles, you'll discover new ways to tell a story and create emotion through your images.
This creative exploration will not only improve your iPhone photography skills but also help you develop your unique visual style.
Use Third-Party Apps and Accessories
While the built-in camera app on your iPhone offers a solid foundation for capturing great images, third-party apps and accessories can take your photography to the next level by providing additional features, controls, and creative possibilities.
Apps:
VSCO: This popular app offers a wide range of filters that emulate classic film styles, as well as advanced editing tools to fine-tune your images. The app also features manual camera controls, giving you more control over focus, exposure, white balance, and shutter speed.
Snapseed: Developed by Google, Snapseed is a powerful and user-friendly photo editing app with a range of tools and filters for enhancing your images. Its unique selective editing feature allows you to make adjustments to specific areas of your photo, giving you more control over the final result.
ProCamera: For those looking for more advanced features and manual controls, ProCamera is an excellent option. The app offers a DSLR-like experience with adjustable settings such as ISO, shutter speed, and focus. Additionally, it includes advanced features like an anti-shake stabiliser and a histogram to help you better understand your exposure.
Halide: This powerful camera app is designed for enthusiasts and professionals alike. With a focus on manual controls and RAW capture, Halide allows you to take full control over your photography. Its intuitive gesture-based interface makes it easy to adjust settings quickly, while the built-in depth capture feature helps create stunning portrait photos.
Accessories:
Tripods: A tripod is an essential tool for stabilising your iPhone, particularly in low-light situations or when shooting long exposures. There are many compact and portable tripods designed specifically for smartphones, making it easy to capture sharp, steady images on the go.
Lenses: External lenses can expand your iPhone's photographic capabilities by providing new perspectives and focal lengths. Wide-angle, telephoto, and macro lenses are available from various manufacturers, allowing you to capture a broader range of subjects and scenes.
Stabilisers and Gimbals: To achieve smooth, professional-looking video footage and eliminate camera shake, consider investing in a stabiliser or gimbal. These accessories help maintain steady movement, making them perfect for capturing action shots, sweeping landscapes, or cinematic sequences.
Remote Shutters: A remote shutter can help you take photos without physically touching your iPhone, reducing camera shake and allowing you to capture images from a distance. This is especially useful for group shots, self-portraits, or long exposures where even the slightest movement can blur the image.
By exploring these third-party apps and accessories, you can unlock new creative possibilities and enhance your iPhone photography experience, allowing you to capture images that truly stand out.
Edit Your Photos
Editing is a crucial part of the photography process, allowing you to fine-tune your images and create a polished final product.
Even the best photos can benefit from subtle adjustments, so don't shy away from using the built-in iPhone photo editor or third-party apps to enhance your images. Here are some key editing techniques to consider:
Adjust exposure, contrast, and saturation: These basic adjustments can significantly impact the overall look and feel of your photos. Exposure affects the brightness of your image, while contrast controls the difference between the darkest and lightest areas. Saturation determines the intensity of colours in your photo. Experiment with these adjustments to find the perfect balance that highlights your subject and creates a visually appealing result.
Crop and straighten: Sometimes, all it takes to improve a photo is a well-executed crop. By removing unnecessary elements and distractions from the frame, you can create a stronger focus on your subject. Also, use the straightening tool to ensure that your horizons are level and your vertical lines are straight, which can make a significant difference in the overall appearance of your photo.
Apply filters: Filters can be an effective way to add a unique look or mood to your photos. While it's essential not to overuse filters or apply them too heavily, using them in moderation can give your images a creative touch. Explore various filter options and find the ones that complement your style and vision.
Retouch and remove blemishes: Sometimes, small imperfections can detract from an otherwise perfect photo. Use retouching tools to remove blemishes, dust spots, or other unwanted elements from your image. This can make a significant difference in the overall quality and professionalism of your final product.
Adjust sharpness and clarity: Enhancing the sharpness and clarity of your images can bring out details and give your photos a more refined look. Be careful not to overdo it, as excessive sharpening can result in unnatural-looking images.
Colour grading: Colour grading is the process of adjusting the colours in your photo to create a specific mood or atmosphere. This can involve tweaking the hue, saturation, and luminance of individual colours, as well as adjusting the overall colour balance and temperature. Experiment with colour grading to give your photos a distinctive, cinematic look.
Remember, the goal of editing is to enhance your images without over-processing them.
Subtlety is key, and it's essential to find the right balance between making impactful adjustments and maintaining the integrity of your original capture. By mastering these editing techniques, you can transform your iPhone photos into professional-quality works of art.
Backup, Organise and Share Your Photos
With the stunning images you'll be capturing, it's essential to have a system in place for backing up, organising, and sharing your photos. This not only ensures their safety but also makes it easier for you to access and showcase your work.
Backup Your Photos
The importance of regularly backing up your photos cannot be overstated. Losing your precious memories to a damaged or lost device can be heartbreaking. To prevent this, use iCloud or other cloud storage services like Google Photos or Dropbox to ensure your photos are safe and accessible from any device. Additionally, consider keeping a local backup on your computer or an external hard drive as an extra layer of protection.
Organise Your Photos
As your photo library grows, it becomes increasingly important to have a system for organising your images. Using albums and tags can help you sort and categorise your photos, making it easy to find specific shots or keep track of your progress. Create albums based on themes, events, or dates, and use tags or keywords to label your images further. This will save you time and frustration when searching for a particular photo or curating a collection of your best work.
Share Your Photos
Sharing your photos is an excellent way to showcase your talent, receive feedback, and connect with others who share your passion for photography. Utilise social media platforms like Instagram, Facebook, or Flickr to share your images with friends, family, and fellow photography enthusiasts. You can also create a personal website or blog to showcase your portfolio, share your photography journey, and attract potential clients if you're interested in pursuing photography professionally.
Print and Display Your Photos
In the digital age, it's easy for our photos to become lost in the endless scroll of our devices. Printing and displaying your favourite images can be a rewarding way to appreciate your work and create lasting memories. Explore various printing options, such as canvas prints, photo books, or even custom phone cases, and experiment with different display methods, like gallery walls or photo ledges, to bring your images to life in your living space.
In conclusion, having a solid system in place for backing up, organising, and sharing your photos is essential for any iPhone photographer. By taking these steps, you'll not only ensure the safety of your images but also make it easier to access, enjoy, and showcase your work.
In Summary
Becoming an iPhone photography pro is about having fun, practising, and staying curious. The more you explore your iPhone's camera features and play around with different photography techniques, the more you'll develop your unique style and learn to capture incredible images. Remember, there's always something new to learn, so keep your eyes open for inspiration and be ready to get creative.
Feel free to follow me on social media and check out my website for more cool photography tips, tricks, and ideas. And hey, if you ever need a professional photographer or videographer for an awesome event or special moment, don't hesitate to contact me. I'd love to help you create and capture some amazing memories.
For more photography goodness and inspiration, follow me:
Instagram: @ArronNewman.co.uk
And if you need a professional photographer or videographer, just reach out and get in touch.
Let's work together to create something unforgettable!